New Year, New Practice Goals
- CJ Bloyer
- Dec 31, 2023
- 6 min read
Please note: None of the links below are affiliate links. I went searching on-line for the stuff I tend to use with students and found the best ones I could. If you’re in the Des Moines or Ames, Iowa area, I highly recommend visiting Rieman Music, which is a local music store that does great work both with musicians and teachers in this area.

In western culture, many people start the new year by setting resolutions for the next year. While many people don’t make their set goals, even an attempt toward meeting those resolutions can be considered something of a success. In that tradition, we’re going to talk about practice goals over the next few weeks.
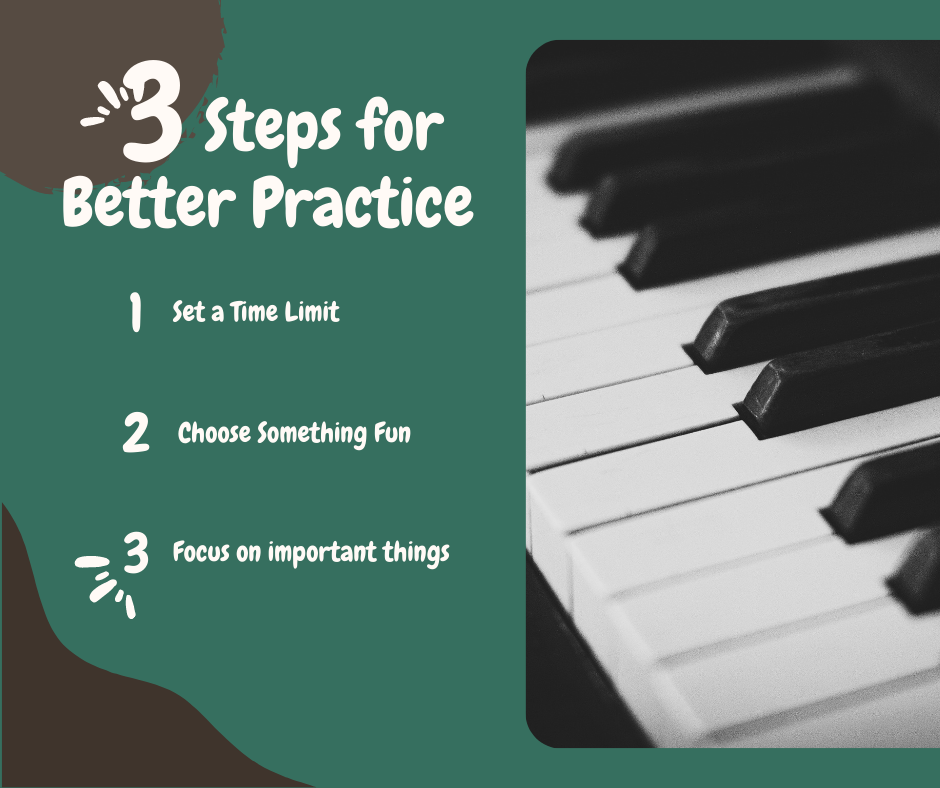
There are lots of different ways to practice an instrument. Light practice can be just for fun, while focused practice is more intense. There are elements that should be consistent no matter what kind of practice you’re doing.
Warm Ups
Review
New Pieces
Section Focus
Fun Times
When we are setting goals for practice, focusing on just one element of our practice can be a great way to get started. Today, we're going to focus on different goals you can set for the warm ups in your practice time. Think through which type of warm up you’d like to see the most improvement on first to get started. You can work through each goal over the course of the year, there’s plenty to choose from!
Warm up goals are about setting yourself for success during the rest of your practice. The more successful your warm up time, the more successful the rest of your practice will go. Warm ups can be anything from scales to arpeggios to Hanon exercises, to just simple chord progressions. Anything that gets your fingers moving and helps you literally “warm up” your body for the practice.
Goal: Good Posture
Good posture is essential when it comes to playing any instrument. Playing music is a physical feat and everything from the way you sit to how you hold your hands will affect both your ability to play the instrument well and your own comfort when you play. Repetitive stress injuries are a common side effect of playing the piano, good posture can limit the seriousness and long-term effects of these injuries.
Sit on the front half of the bench with your feet flat on the floor. If your feet don’t touch the floor, get a step stool or a box or even a stack of large books so your feet can be flat on a solid surface. If your feet sit flat on the floor, you may extend your right foot a little bit forward toward the pedal(s) of the piano or keyboard. This will prepare you to use the pedal(s)
Straighten your shoulders and align them with your hips. Your shoulders should be slightly back and your chest slightly front. If you push your shoulders back or your chest forward too far, it’ll be uncomfortable, so find a middle ground where your body feels relatively comfortable.
Sitting the correct distance from the keyboard is also important. To assess the best distance, curl your fingers into loose fists and stretch your arms out in front of you. If you’re sitting at a traditional style piano, your knuckles should just brush the backboard or keyboard lid of the piano. If you are using an electric keyboard, your knuckles should be able to touch the edge of the frame just above the keys.
If you’re unable to do either of these things, you will need to adjust the bench’s distance from the piano. Move it closer or further away and extend your fists again. Adjust the bench until you are able to extend your arms to the correct place. If you are the only one using your piano or keyboard, you can leave your bench in the correct position all the time and may only need to make minor adjustments each time you play. If you share the piano or if it is a public instrument, you may need to go through the process each time you sit down to play.
When the previous steps have been completed, your elbows should be slightly bent when your fingers are on the keys. Good posture ensures you will be less likely to cause repetitive stress injuries over time. Remember, it may take a few days or weeks of practicing good posture before you find yourself automatically adjusting each time you sit down to play.
Goal: Learning Scales and Modes
Scales and modes are a staple of music theory and practice. They are part of the basics of understanding how music works and are essential for improvisation, composition, and transposition. While scales and modes are similar, there are significant differences in their patterns. If you are working with an instructor, have them recommend a good teaching book or a source book to work from. If you are learning on your own, there are a number of different options to choose from. A few of my recommendations are linked below.
Alfred’s Chords, Scales, and Arpeggios is a great reference tool. It includes major, natural minor, harmonic minor, and melodic minor scales. It also shows a variety of different ways to play the scales; octaves, 3rds, and 6ths as well as parallel and contrary movement.
Brad Harrison Music has a great, short video on Major Scales and another one on Minor Scales that are also extremely helpful, despite their short length
I’ve used several different books on modes, but this one: Scales & Modes, is the one I liked the best. It’s great regardless of your familiarity with scales and it’s arranged by key so everything is easily accessible.
I’ve also put together a YouTube Playlist from various channels I like. There’s a mix of lengths and complexities too. You can find it here: Modes Playlist
Once you’ve decided what kind of tools you want to help you learn scales and/or modes, you need to decide where to start. There are a million an five different ways to go through scales and modes, but I’m a big fan of starting with the C major scale. It has no flats and no sharps, so it’s all white keys and you can just go up and down as many octaves as you would like each time to play it.
Whatever method you choose to use to learn scales and modes, each time you sit down to practice, run through 2-3 of them 1-2 times each. Start with a scale you already know (or if you don’t know any yet, learn the C major scale first). Play through the scale in once octave with each hand alone and then together. Then try for 2 octaves, again, each hand separately and then again together.
If you’ve only got one or two scales under your belt, increase the number of octaves you play during your warm up. If you have more than one memorized, divide your warm up time between them. Also, make a goal to learn a new scale or mode each week or each month or whatever time frame is reasonable for your practice. Eventually, you WILL learn them all and then you can try different variations of each one. The possibilities are endless.
Goal: Hanon
C.L. Hanon was a dude who lived in the 1800s (1819-1900) and wrote, among other things, a series of 60 exercises designed to increase individual finger performance. There are pluses and minuses to these exercises, but I’m a strong believer in moderation in all things. So, a little bit of Hanon makes for a great warm up.
You can purchase his exercises in either the BIG book of all 60 exercises (This one is spiral bound, which I highly recommend), or in smaller groups of 20 exercises each (This is the first one in the set.)
If you’re just starting out in piano, I recommend the collection of the first 20 to get you started. If you’re REALLY into Hanon after you complete those, you can get the others, but 2o exercises is more than enough to begin with.
As with scales and modes, work through each exercise with your right hand and left hand separately first. When both hands are confident with the exercise, practice playing the exercise hands together. As you build your confidence in each exercise start combining them, playing one right after another until you can play three or four in a row without stopping. Also, practice playing the exercises at different tempos, both fast and slow, to vary your enjoyment of the exercises.
Obviously, there are a ton of different goals you can set for your warm ups. The ones above are a great start and as you work through them, you will not only warm up your body, you’ll also be increasing your abilities as a musician! Win-win!
Warm Ups Are Essential
Whatever form of warm-up you choose, remember WARM UPS ARE ESSENTIAL! Even if you're just sitting down to doodle on the keys for a few minutes, use some of that time to dedicate to warming up your fingers and your brain so your practice has a good base to build on.
Obviously, there are a ton of different goals you can set for your warm ups. The ones above are a great start and as you work through them, you will not only warm up your body, you’ll also be increasing your abilities as a musician! Win-win!
Comments